

This support notes are suitable for:
- ABSS Accounting
- ABSS Premier
|
Introduction Setting up your ABSS company data file is a simple but important process. Working systematically through this process will ensure you have your MYOB/ABSS program up and running in the shortest possible time. |
What information do I need to setup in my ABSS data file?
Being prepared can greatly reduce the time and effort needed to setup a company data file. While preparing your accounting data, take time to explore the avenues of ABSS help that have been made readily available to you.
The list below will help you to gather some of the information you will need.
- A Balance Sheet or Trial Balance report as at your conversion date which is the date you commenced using ABSS. These reports will provide you with your chart of accounts and your ledger account Opening Balances.
- Customers and Supplier's details and trading terms.
- Outstanding invoices and purchases dated prior to your conversion date.
- Reconcile your cheque account(s) as at the conversion date. Doing this will provide you with your cashbook balance which is used for your cheque account Opening Balance. It will also provide you with a list of your un-presented deposits and withdrawals, which will also need to be entered.
What options do I select when setting up a new data file?
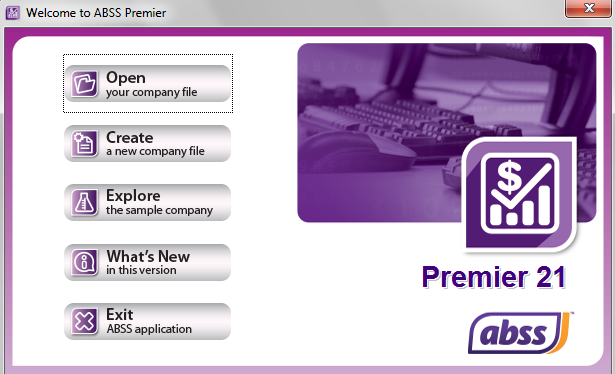
To set up a new data file double click the ABSS icon and click Create a new company file
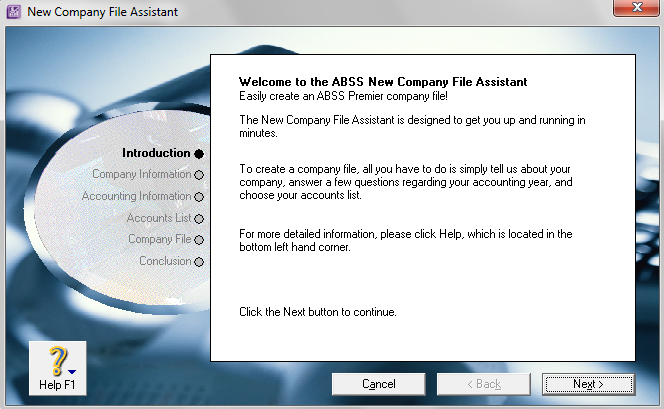
The New Company File Assistant window is automatically displayed when creating a new company data file. This function provides a convenient means of entering the basic data file setup information.
The main sections that need to be completed are as follows:
Company information
Enter your company information in the relevant fields. By default, ABSS will use the Company Name when naming the data file. This can be changed when the file is actually saved to the computer's hard drive.
Accounting Information
- Current Financial Year - This is the financial year in which you want to enter your initial transactions. ABSS will not accept transactions dated in a financial year that is prior to the Current Financial Year.
- Last Month of Financial Year - Generally, the financial year runs from July to June and therefore June would be selected as the Last Month of Financial Year. However, another month can be selected if necessary.
- Conversion Month - This option works in conjunction with the Current Financial Year. Initial transactions cannot be dated prior to the Conversion Month of the Current Financial Year, for example: If 2005 is selected as the Current Financial Year and December is selected as the Conversion Month, ABSS will not permit transactions to be dated prior to 1/12/2004.
- Number of Accounting Periods - ABSS provides for either 12 or 13 accounting periods per year, with each month being counted as one period. By selecting 13 periods, ABSS will provide you with an artificial period, which is ideal for entering end of year adjustments which would otherwise affect the June/July reporting period. For more information on using the 13"‘ period, please refer to our 13th month adjustment.
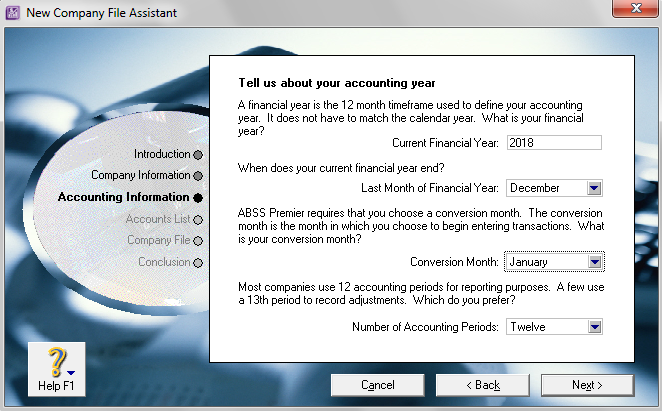
- After making your selections, click Next. Carefully read the confirmation window as once the setup is accepted, you will not be able to go back and change any of the Accounting Information settings.
- Accounts List - ABSS provides you with three options of setting up your chart of accounts. The first option allows you to select a chart of accounts tailored to your business type. If your accountant has prepared a Trail Balance or Balance Sheet report for you, then select the third option - I Would Like to Build My Own Accounts List Once I Begin Using ABSS.
- Regardless of which option you select, your chart of accounts can be customized at anytime.
Company File
Click Change if you want to change the name or destination of your new company data file. Othen/vise, click Next.
Conclusion
Click Setup Assistant if you want to continue customising your new data file. Alternatively, you can select Commend Centre to start entering your accounting data.
If you select Command Centre, you can access the Setup Assistant. To do this, open your data file go to the Setup menu and choose Easy Setup Assistant.
For information on using this tool see our Support Note Easy Setup Assistant.
For information on entering customer opening balances see our Support Note Setting up Customer Opening Balances and historical sales.
What else do I need to do?
Initial Bank Reconciliation
When setting up a company data file, your cheque account's cash book balance is used as the account's Opening Balance. Your un-presented cheques and deposits are entered by allocating them back to the cheque account they are being written from. With the Opening Balance and un-presented transactions entered, reconcile the cheque account to the bank statement using the statement balance as at the conversion date. This is done by selecting as reconciled the deposit side of all the un-resented cheques, and the withdrawal side of the un-presented deposits.
For detailed information on entering un-presented transactions and performing the initial bank reconciliation, please refer to our support note titled Initial bank Reconciliation.
Inventory Setup (ABSS Premier, and ABSS Accounting)
There are two steps to setting up inventory: creating the items and then entering their opening balances.
Your inventory setup will depend on whether you are using a perpetual inventory system or a periodic inventory system. A perpetual inventory system is where your inventory quantities and values are updated with each purchase and sale. A periodic inventory system is where inventory quantities and values are determined through a stock take at the end of a period. Your accounting records are then manually updated with balance day adjustments.
Before setting up your inventory, you may want to ask your accountant which inventory system best suits your business.
To setup an item:
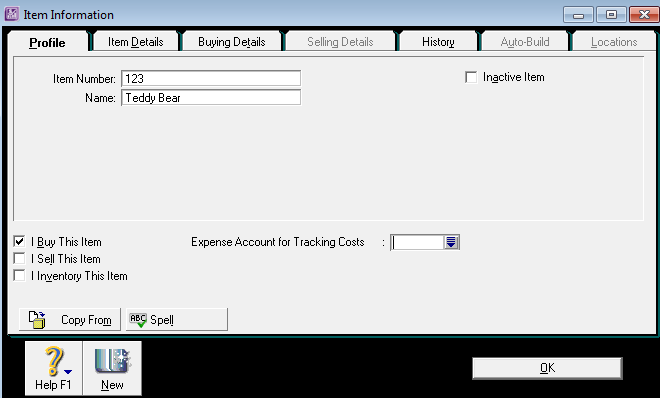
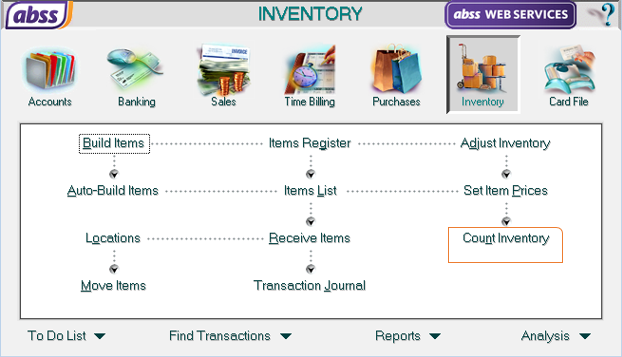
- Go to the Inventory command centre, click Items List then click New.
- Enter the Item Number and Name.
- Select the item settings that suit your inventory control method then select the item's linked accounts.
- If you selected I Buy This Item, you must specify the expense account for tracking the costs ,then click the Buying Details tab and complete the fields in that window.
If you use the perpetual inventory system, you will need to enter your inventory opening balances. To do this, go to the Inventory command centre, click Count Inventory and then follow the on- screen steps.
For information on entering inventory opening balances see our Support Note Inventory Opening Balances.
Comments
0 comments
Please sign in to leave a comment.