![]()
This support notes are suitable for:
- ABSS Accounting
- ABSS Premier
|
Introduction When upgrading from a previous version of MYOB there are a number of different files that you may like to copy to the latest version. Some files include customised forms and customised letters. This support note explains how this is done. |
Copying Customised Forms
To copy the customised forms you will need to use Windows Explorer.
Go to Start, choose Programs, Accessories then click Windows Explorer.
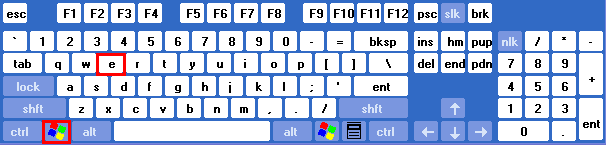
As a shortcut to this, you can press and hold the WIN key then press E.
NOTE: Recent versions of Windows refer to Explorer as ‘My Computer’.
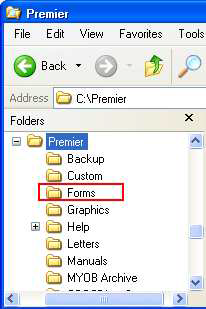
- Double-click Local Disk C:\ then double-click the previous version MYOB program folder. For example, Premier folder.
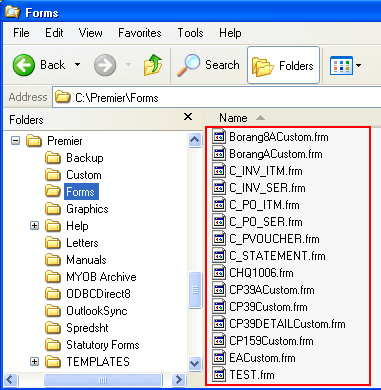
- Double-click the folder called Forms. You can select individual * .frm files to copy by holding the CTRL key and clicking each file once or you can select them all by going to the Edit menu and choosing Select All.
- Go to the Edit menu and choose Copy.
- Go back to Local Disk C:\ and double-click the folder for the new ABSS program. For example, Premier 12 folder.
- Double-click the Forms folder.
- Go to the Edit menu and choose Paste.
- If a message regarding replacing files appears, click Yes to all.
- Your customised forms will now be available for use within your current ABSS program.
Note: Once you have done this and accessed your new MYOB program, you may need to select this form within MYOB so it is used when you click print. In the following example, a specific Invoice form is being selected:
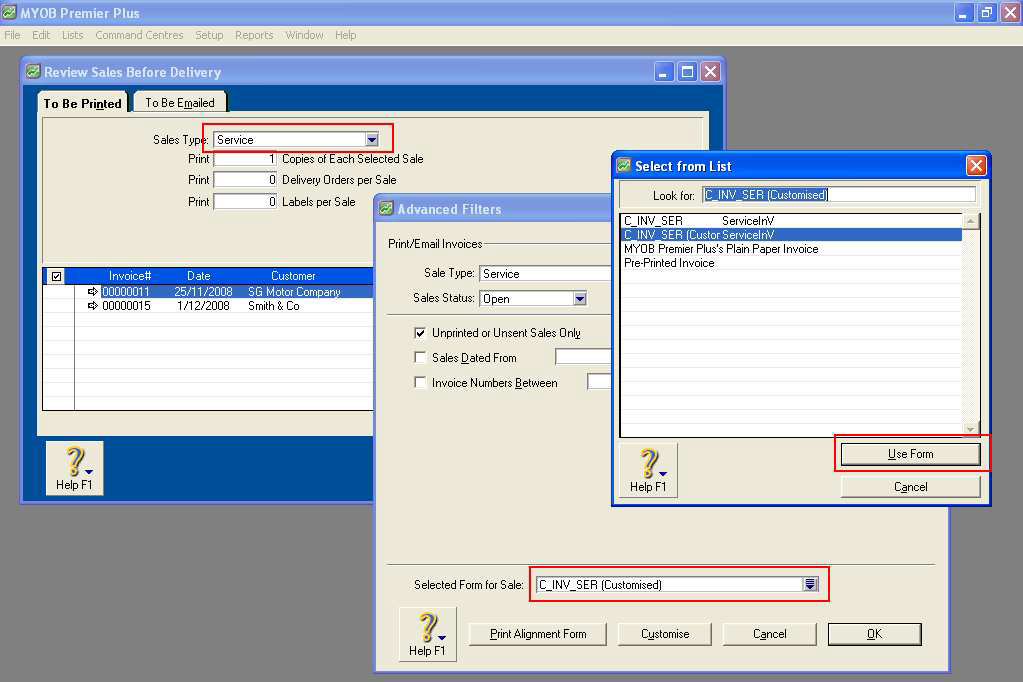
- Go to the Sales command centre and click Print/Email Invoices.
- Select the layout you use for invoices from the Sales Type selection menu.
- Click the Advanced Filters button.
- Click the drop-down arrow on the end of the Selected Form for Sale field.
- A list of forms is displayed. Select your form and click Use Form.
- Click OK to the Advanced Filters window.
Now, when you print an invoice your selected customised form will be used.
Additional Notes:
When you first use your customised form you may be prompted to upgrade the form. Click OK when you are prompted.
Please note: If after copying your forms you cannot see them within the MYOB program then it may be that they are marked with the ‘Read-only‘ attribute. This is normally happens when the files have been copied from CD-R. To remove the Read-only attribute from the *.frm file:
- Right-click the file within Windows Explorer and choose Properties.
- Clear the Read-only checkbox and click OK.
For more information on working with files in Windows please refer to support note Basic Windows Functions XP.
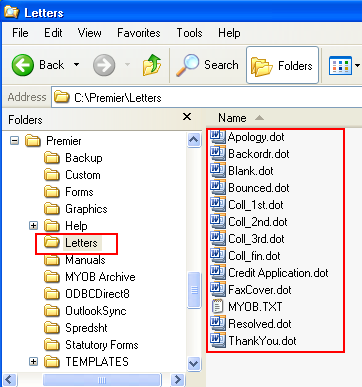
Copying Customised Letters
To copy the customised letters the process is again very similar. It follows the same principles as copying customised forms.
- In Windows Explorer, double-click the MYOB folder for the version you were using.
- Double-click the Letters folder. You can select Individual dot files to copy by holding the CTRL key and clicking each file once or you can select them all by going to the Edit menu and choosing Select All.
- Go to the Edit menu and select Copy.
- Go back to Local Disk C:\ and double-click your current version ABSS program folder.
- 5. Double-click the Letters folder.
- Go to the Edit menu and select Paste.
You will now be able to select your customised letters in your MYOB program.
Once all these steps are completed, you should have all of your customised forms, baslink setup files and letters in your recent installation/upgrade of MYOB.
Copying from computer to computer
If there is an accessible computer within the network which already contains the customised data and you want to setup a new Premier workstation, you can copy the information over the network
Assuming the Premier folder on the existing machine is shared:
- Double-click My Network Places from your Desktop.
- Click Entire Network along the left frame of the window.
- Double-click the Microsoft Windows Network icon.
- Browse to the existing computer from which you will copy and double-click its icon.
- You should see a Premier folder. Double-click it.
You can now perform the copy and paste exercises described above from the computer on the network to the new local computer.
Comments
0 comments
Please sign in to leave a comment.